Open a report
Opening a report row displays the complete diagnostic report, reference ranges, historical trends, and clinical decision support.
What it does
When you select a report row, a comprehensive report view opens beside the inbox. It presents each analyte alongside its laboratory reference range, displays historical values in tabular and graphical formats, and shows the full laboratory provenance (including accession numbers and sending pathology service). If AI insights are enabled, reading cards summarize clinical significance, highlight potential red flags, and suggest follow-up investigations. Clinicians can print the report, jump directly into the patient file, or apply triage decisions.
When to use it
Use this screen whenever a test result requires detailed clinical evaluation, when tracking analyte trajectories over time (such as renal function or HbA1c), or when deciding whether further investigation is required.
Step by step
- Select any result row in the Results inbox to open the report details pane.
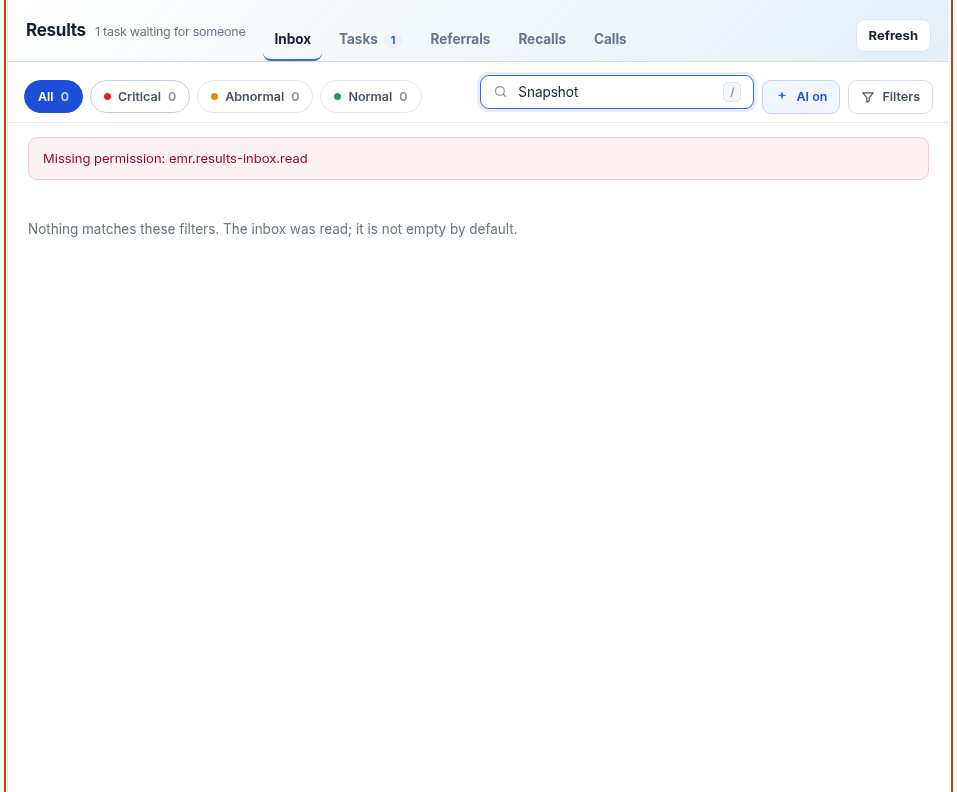
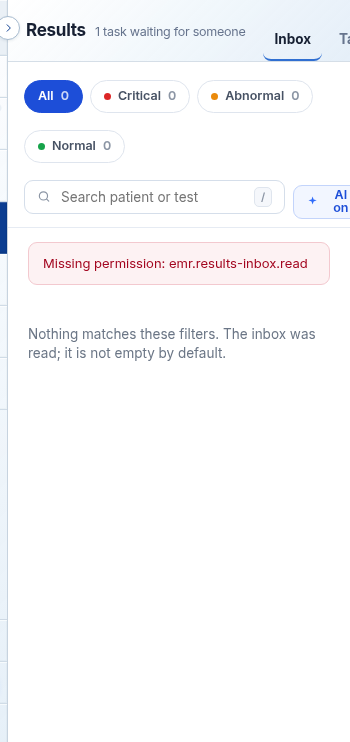
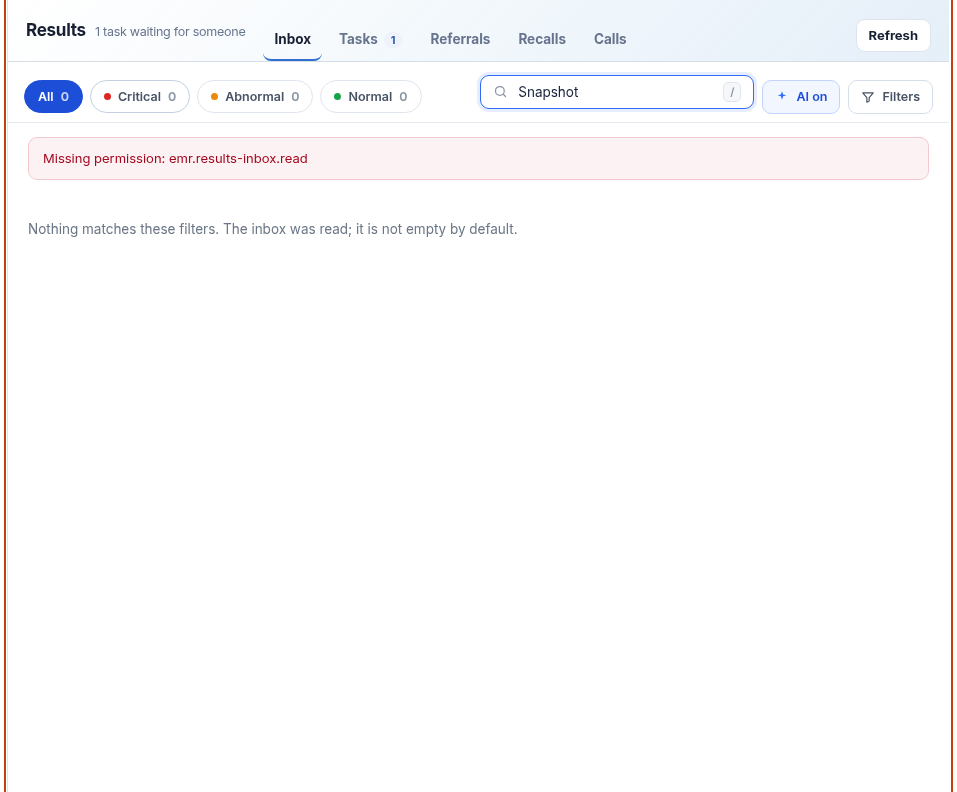
- Review report controls in the header including Print, Patient, and Close, and inspect clinical recommendations.
Also on this screen
- Open a report: Clicking any result row opens the detailed report panel beside the main list.
- Print: Opens a clean printer-formatted dialog to produce a paper copy or PDF of the diagnostic report.
- Patient: Direct navigation button that opens the patient chart in a new workspace tab.
- Close report: Cross button (×) that closes the report panel and restores the full-width inbox view.
- Numbers, history and range chart: Displays each analyte with its reference interval, highlighting low, normal, and high values with visual trajectory charts.
- Reading cards: Structured clinical guidance cards highlighting severity assessment, questions to ask, physical examination signs, recommended orders, and differential diagnoses.
- Order all: One-click action that drafts all recommended follow-up investigation orders suggested in the clinical plan.
- Red flag ticks: Interactive checklist of clinical warning signs that doctors can tick off as present or absent.
- Laboratory report and provenance: Displays the raw electronic text from the laboratory, accession number, issuing facility, and assigned clinician.
- Acts on one report: Single-report triage buttons (Follow up, Recall, Urgent recall, Discussed, No action required) allowing immediate triage.
- Read report: Transmission tracking showing whether the report was delivered, viewed, or discussed.
What Agent D can do
- Agent D opens individual report items with full observations using
worklist.inbox_open_item. - Agent D drafts clinical recommendations and workups using
worklist.inbox_drd_planandworklist.inbox_workup. - Agent D pulls authoritative pathology reference manual data (
worklist.inbox_rcpa) to explain abnormal analytes. - Agent D drafts investigation request forms for suggested follow-ups via
worklist.inbox_order_from_plan.
Safety (what needs your Confirm)
- Reading cards and AI insights are diagnostic decision aids. They do not replace formal clinical assessment.
- Selecting "Order all" drafts pathology or imaging request forms; no tests are ordered until you review and confirm each request.
Common questions
Where do reference ranges come from?
Reference ranges are provided directly by the issuing laboratory for the specific testing platform, age group, and sex.
Can I view how a test result has changed over time?
Yes. The range chart and historical graph plot past results chronologically so you can assess clinical trajectories.
How do I return to the full inbox view?
Click the close cross (×) in the top-right corner of the report panel.
Related
Last reviewed: 03/10/2026.