Patient details and cover
The Patient details and cover dialog manages core demographics, residential addresses, emergency contacts, carers, payers, and communication consent.
What it does
Clicking the patient name or date of birth opens the Patient details and cover form. This comprehensive dialog allows staff to manage legal name, preferred name, pronouns, date of birth (DD/MM/YYYY), contact phone numbers, email, residential and postal addresses, Medicare and concession card numbers, carer and third-party payer details, credit card on file, emergency contacts, next of kin, advance care planning documentation, and SMS consent preferences. It includes a reload guard to prevent accidental overwriting of sensitive card details.
When to use it
Use this screen when registering demographic changes, updating residential addresses, recording a new Medicare card expiry date, storing billing cards on file, or recording SMS opt-out requests.
Step by step
- Select the patient date of birth or name on the consult banner to open Patient details and cover.
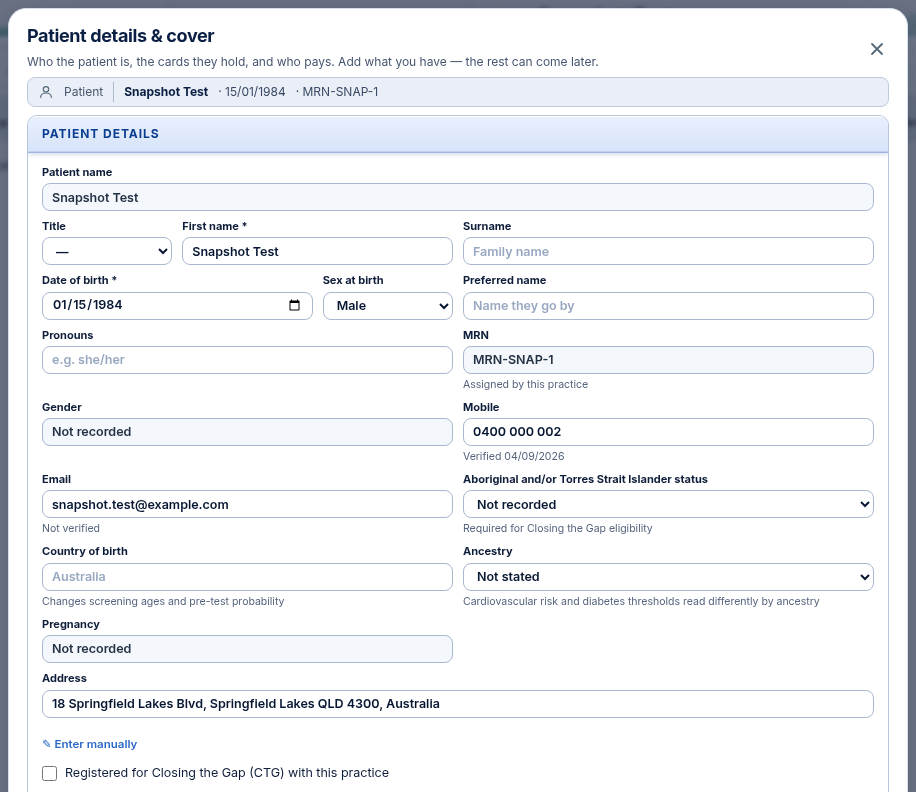
- Review the demographic sections, contact fields, card details, carer, and payer information.
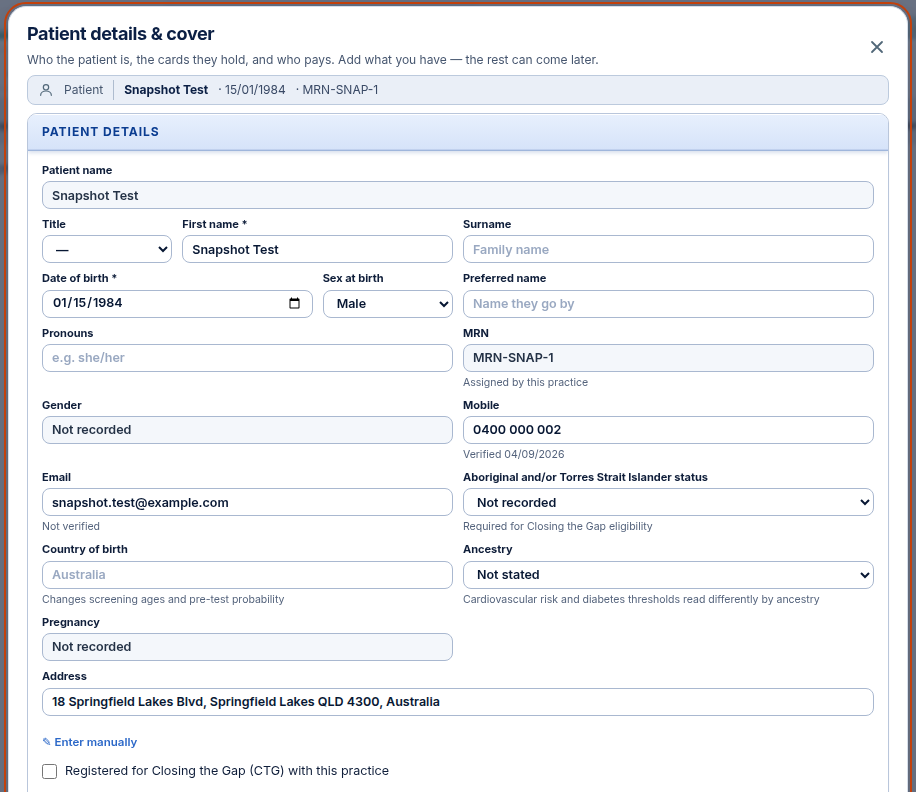
- Update any necessary fields and select Save, or use the close cross (×) to cancel changes.
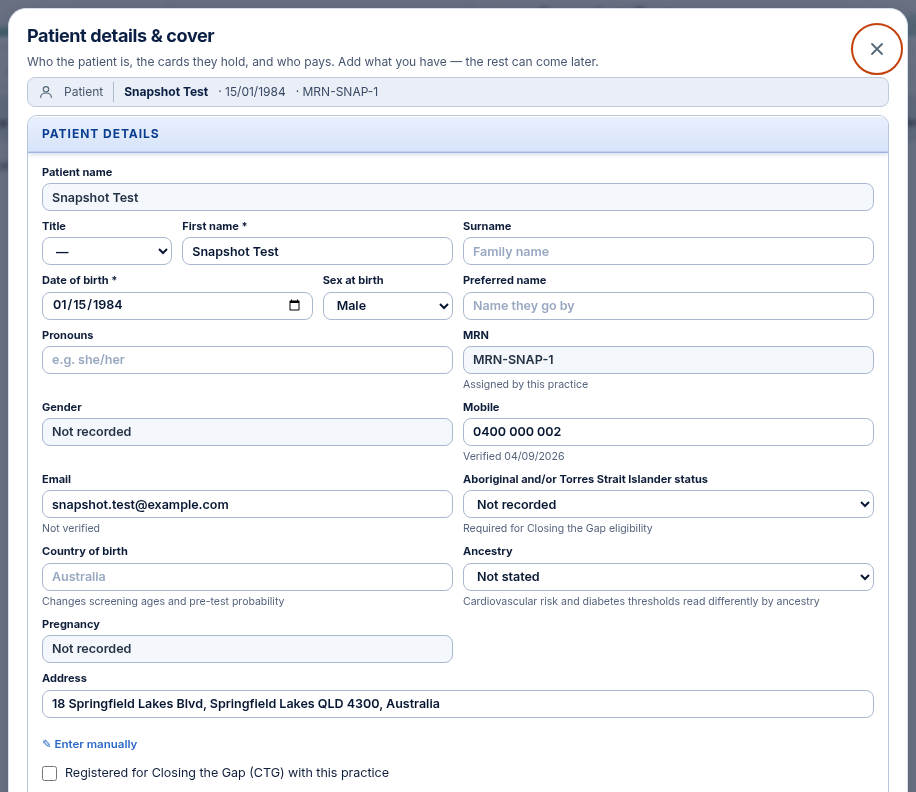
Also on this screen
- Name opens patient details: Clicking the patient name in the banner opens this dialog.
- Date of birth opens details: Clicking the date of birth is a direct shortcut into details.
- Address, phone, and email: Interactive fields with visual indicators highlighting missing contact data.
- The dialog: Single unified form covering demographics, cards, carer, payer, and IHI status.
- Carer and payer: Separate blocks to designate primary carers and financially responsible third parties, with one-click clear buttons.
- Card on file: Secure tokenized card storage allowing consultation fees to be billed upon invoice finalisation.
- Allow texts / Stop texts: Formal register recording patient consent for automated clinic text messaging.
- Emergency, next of kin, advance care, background: Additional tabs documenting emergency contacts, next of kin, advance health directives, and medical background.
- Text app link from the dialog: Action button allowing staff to dispatch an app invitation link directly from the demographic form.
- Patient details save reload guard: Safety mechanism protecting against accidental data overwrites during concurrent updates.
What Agent D can do
- Agent D reads patient profile and demographic fields using
patients.profile_edit_read. - Agent D drafts profile and demographic modifications with
patients.profile_edit_save. - Agent D inspects the SMS consent register via
patients.sms_consentand updates consent state (patients.set_sms_consent). - Agent D cannot save changes without your explicit confirmation.
Safety (what needs your Confirm)
- Updating legal demographics or Medicare card details updates official medical billing and prescription records.
- Changes are only saved to the database when you explicitly select Save.
- Recording an SMS opt-out immediately prevents automated text messages from being dispatched to that phone number.
Common questions
Where are stored credit cards kept?
Credit card details are never stored on Diagnify local servers; they are encrypted and tokenized directly via PCI-DSS certified payment processors.
How do I record an Advance Care Directive?
Open the "Advance care" section within Patient details and record the document date (DD/MM/YYYY), custodian details, and summary directives.
What should staff do if a patient asks to stop receiving text reminders?
Select "Stop texts" in the Patient details dialog. Diagnify immediately records the consent revocation in the SMS register.
Related
Last reviewed: 03/10/2026.